If you want to have a great piece of abstract art in your home, but can’t find the perfect picture to purchase, here’s how you can make it yourself the easy way.
What you’ll need
- Canvas, any size
- House paint or student acrylic paint
- Water, preferably bottled
- Empty plastic bottles or any small containers
- PVA glue (optional)
Canvas
I suggest you buy gesso-primed stretched canvas. It’s still cheaper and much less hassle than priming it yourself. Stretched or block-mounted canvas is very practical because it’s ready to hang. Framing is pretty expensive, so you want the option of hanging a piece bare on the wall. Luckily, it’s trendy too!

In case you want to prime it yourself, use this home-made gesso recipe: Mix 1 part white acrylic paint, 0.5 part talc, 1 part water to dissolve the mix to a creamy consistency. Cover the canvas twice, letting it dry overnight between coats.
Acrylic Paint
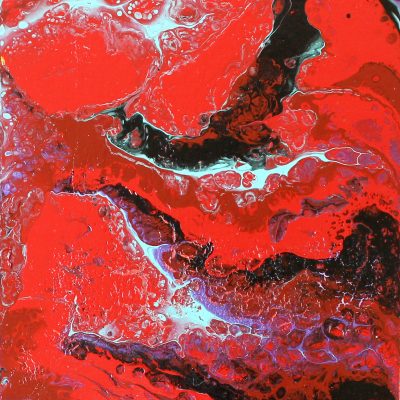
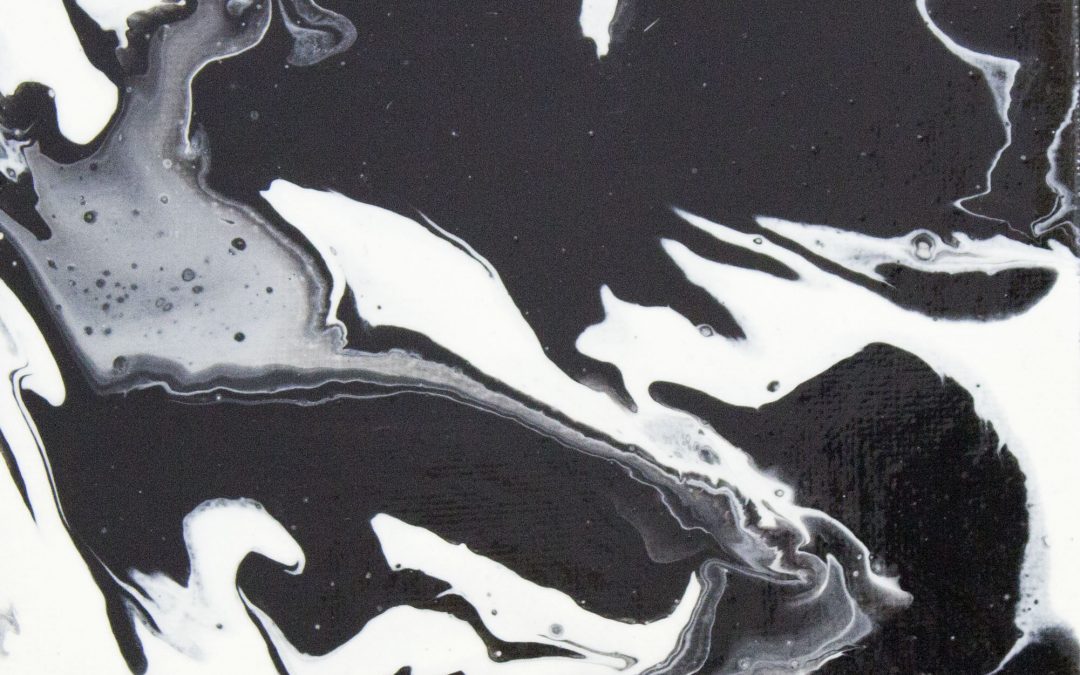
You might have leftover house paint from your last renovation, or student acrylics from your kid’s school supplies. It’s time to use it before it dries out! Just make sure it’s acrylic, and not enamel or watercolour paint. You can use as few as two colours, such as black and white, or as many as you like – the possibilities are endless! But if it’s your very first painting experience, I suggest limiting yourself to 3-4 colours which go together. Start with the primary colours (red, yellow and blue) and add black if you’d like a darker painting, or white for a brighter one.
How to mix fluid paint
You can mix your paint with just water – I prefer bottled water, as tap water starts to smell bad if you leave the mix for a while. Of course, if you use all your mixture at once, tap water is fine.
Never put more than 50% water into your paint. The consistency must be smooth and creamy.
You can also mix it with PVA glue (often sold as school glue or wood glue), using between 10% – 50% ratio of glue to paint. Then add water to achieve that creamy consistency.
To sum up, a reliable recipe would go like this:
- 1 cup paint
- 1/4 cup water
- 1/4 cup PVA glue (optional)
You can see the different results of different combinations in my new video below:
Plastic bottles or containers with lids
Bottles give a little more control when designing your painting.
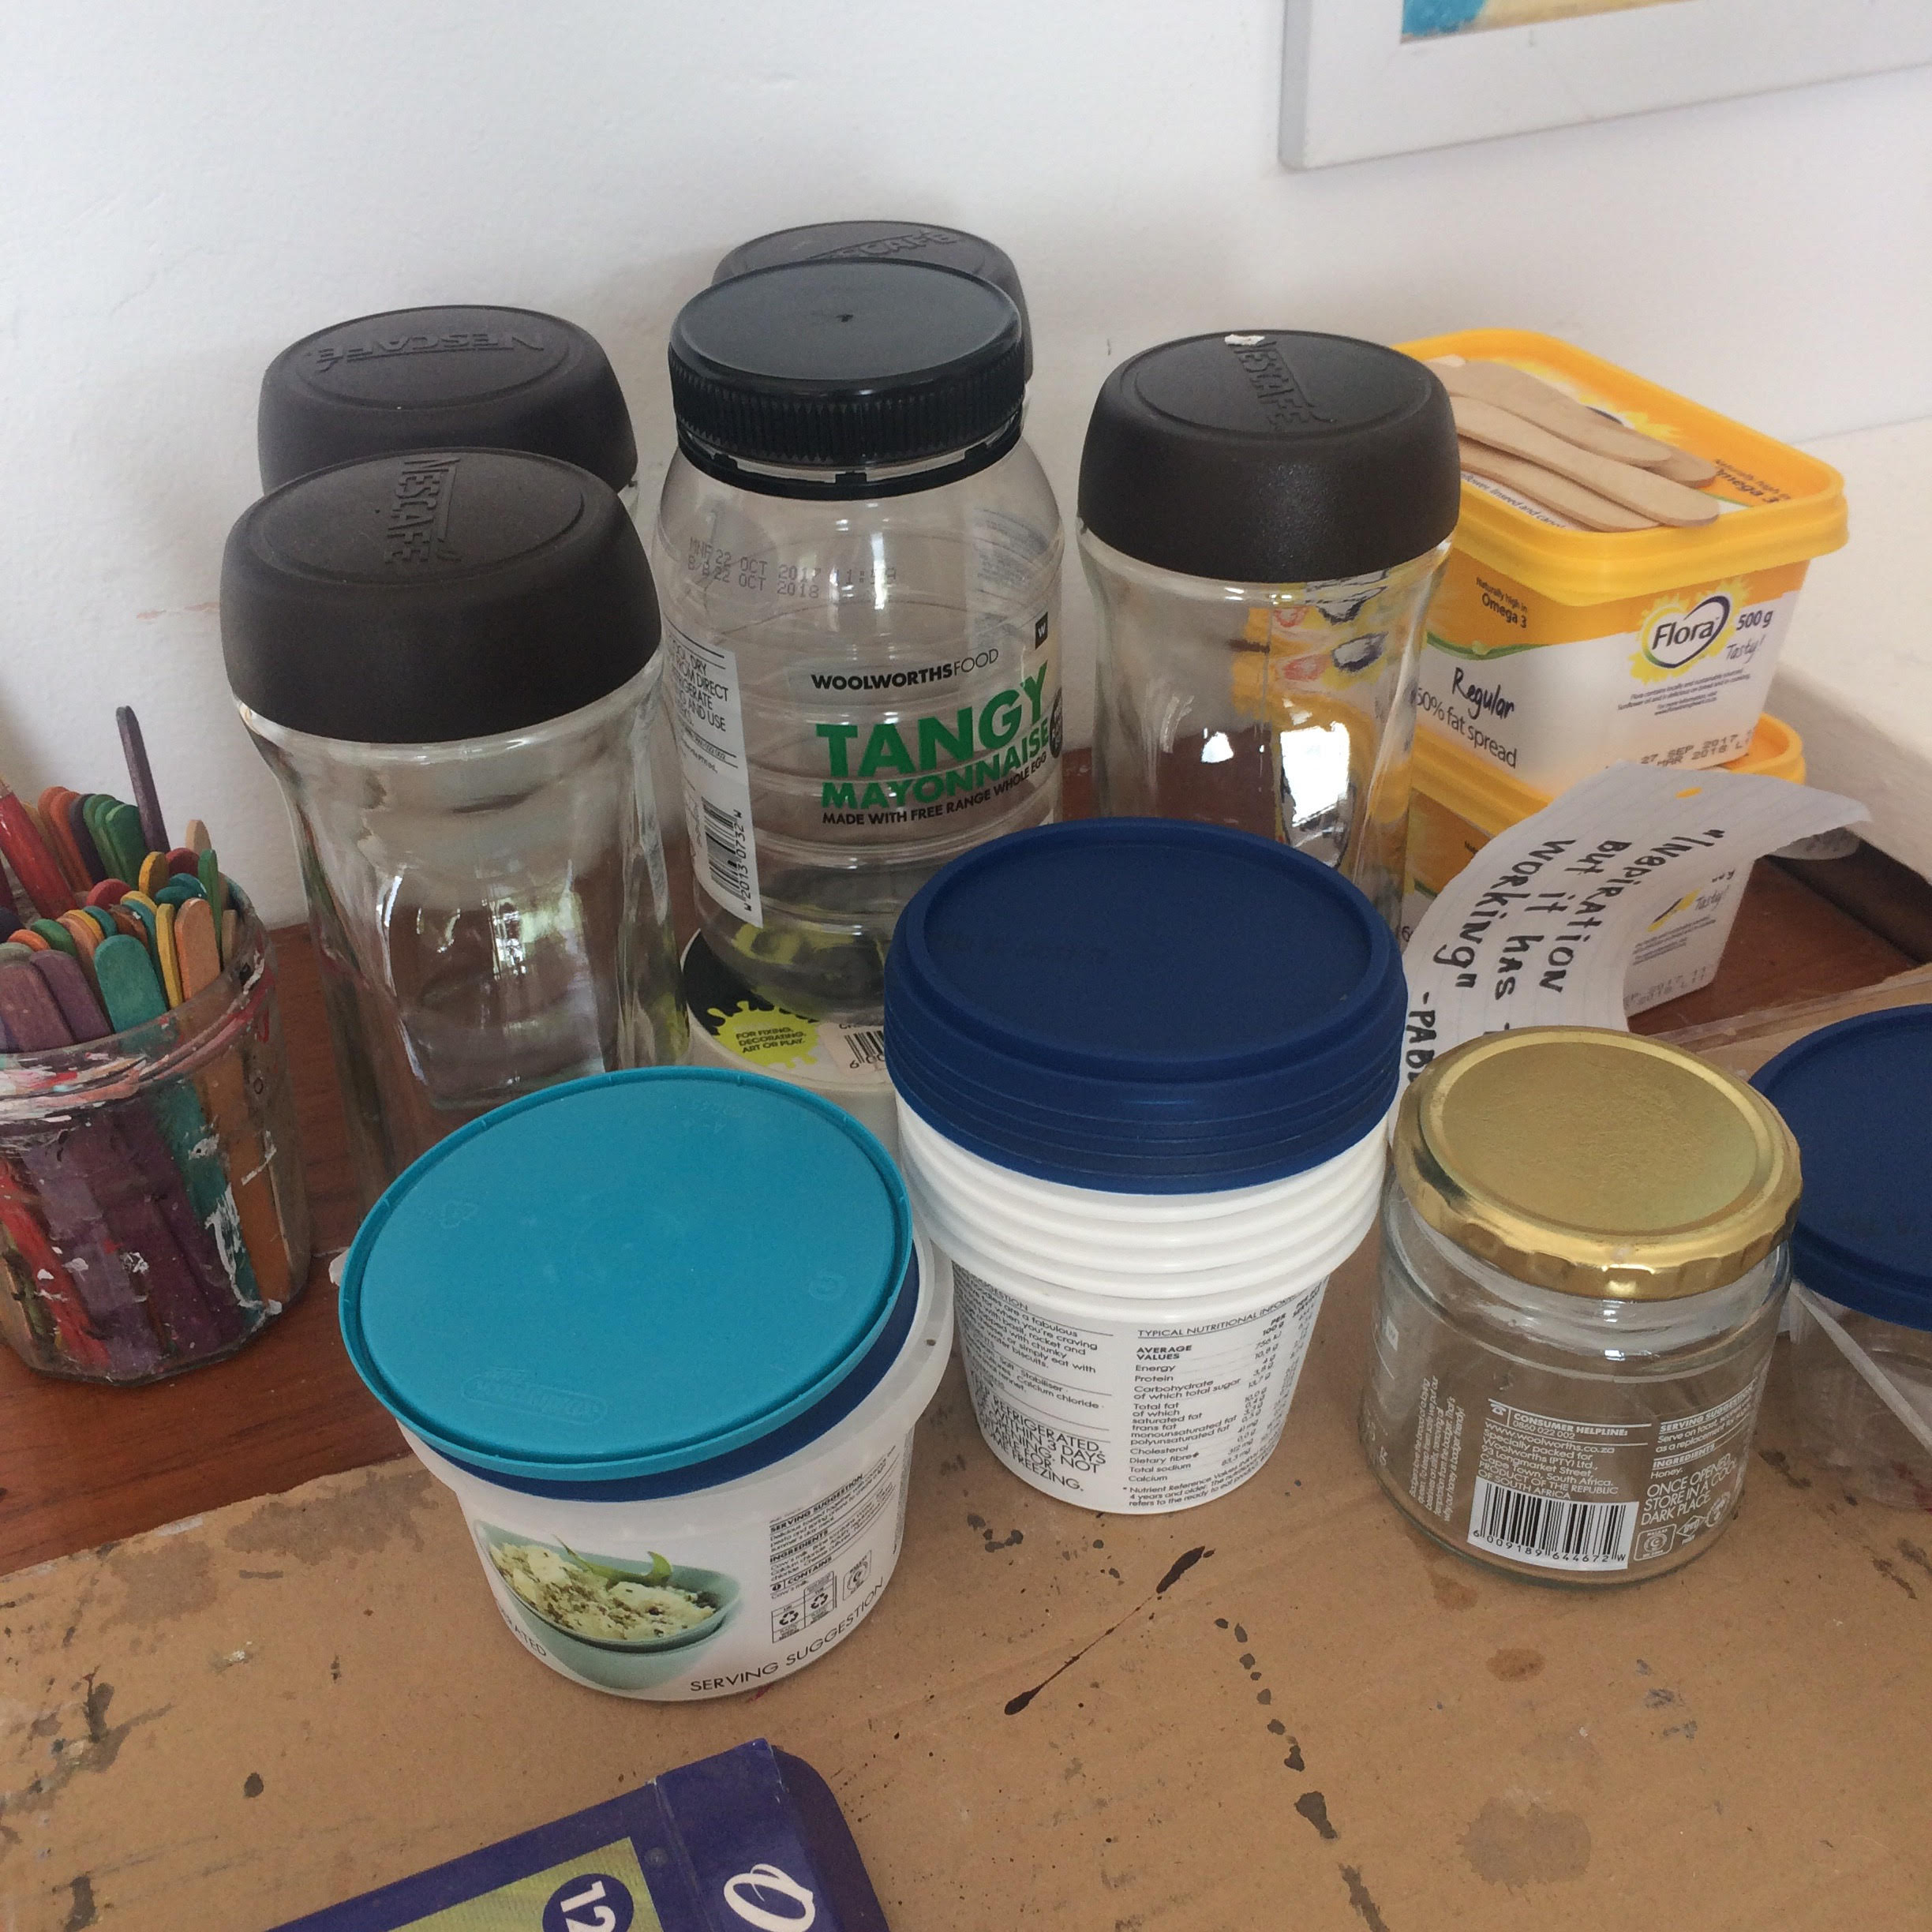
I usually use recycled water bottles. I also use pretty much all plastic containers from my kitchen too. They’re a little bit trickier to control, but if you pay attention it can be a lot of fun.
Now we’re ready to paint!
Put the canvas flat on a level surface, it can help to prop up the edges so your canvas doesn’t get stuck in pooled paint when it’s dry.
Pour the paint straight onto the canvas in any order you like. Don’t rush to use all your paint at once, simply tilt the canvas a bit to see how the paint moves. Add some more paint in empty spaces, and tilt again until your canvas is covered. Cover the edges and corners with a brush or simply with your fingers.
If you want to do a big canvas, experiment with your colour combinations and paint mixture recipes on smaller canvases first.

What you don’t need to stress about
- If you mixed your paint too thick, and it doesn’t flow onto the canvas, just add more water in small portions and mix again
- If the painting cracks when it dries, or looks completely different- it hasn’t gone wrong! Fluid art evolves as it dries, and cracks give texture and interest to an otherwise flat piece.
- If the painting’s colours look dull when dry, you can brighten it up with a few coats of water-based varnish.
If you’d like more tips and inspiration, subscribe to my YouTube channel, or search for “fluid art tutorials” online. There are so many different techniques and colour combinations to try!
Good luck! let me know if you try this, I’d love to see pictures of your work, tag me on Instagram @zhanna_abstract when you’ve tried a few of these techniques.
And remember, this is a fun art form to practice, because abstract art is pretty forgiving!