Updated August 2026
You do not need an expensive studio, a huge collection of paints or years of training to try abstract painting. A small canvas, a few well-chosen colours and some simple household tools are enough to begin experimenting.
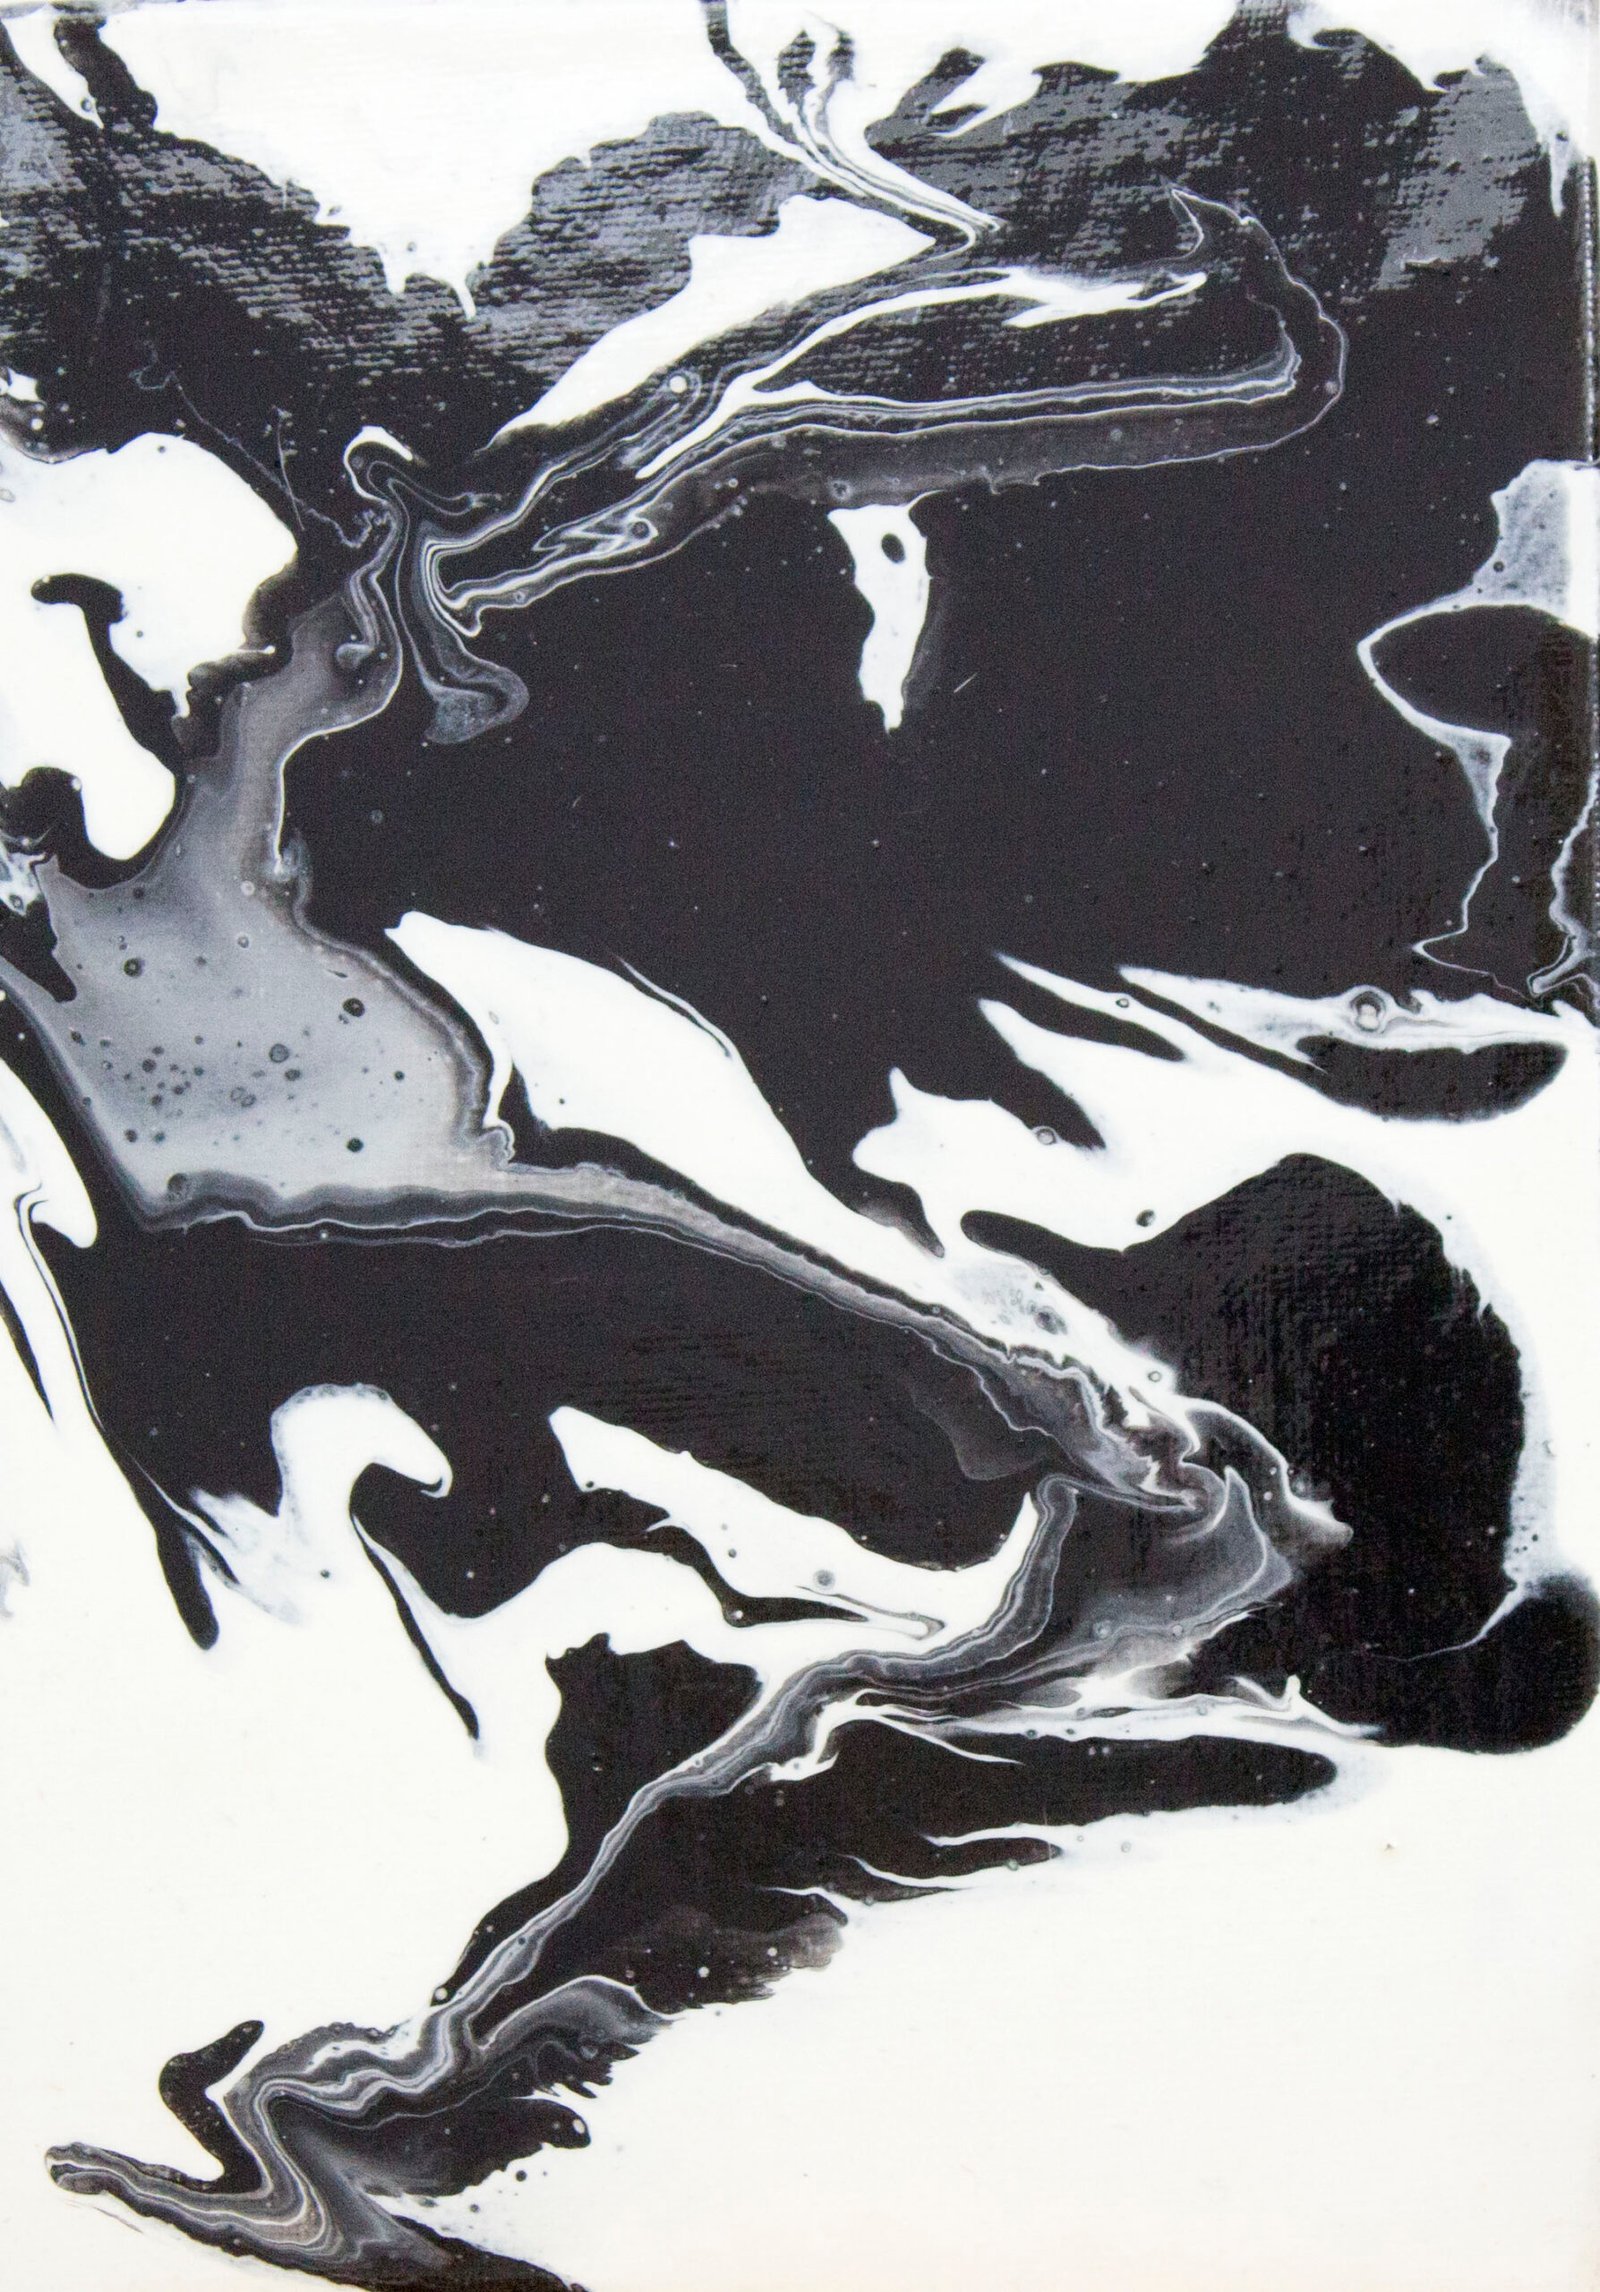
Fluid acrylic painting is especially welcoming for beginners because the paint itself helps to create movement, texture and unexpected patterns. The secret to keeping costs down is not buying the cheapest version of everything. It is starting small, choosing versatile materials and learning how the paint behaves before you invest in specialist supplies.
In this guide, I’ll show you how to start abstract painting on a budget, from choosing affordable supplies to mixing, pouring and drying your first piece.
Can you start abstract painting on a small budget?
Absolutely. Your first paintings are experiments, so there is no need to begin with a large professional canvas or a full range of artist-quality colours. Student-grade acrylics are affordable, easy to find and much more forgiving than many people expect.
I recommend spending your budget on three things that make the biggest difference: a prepared surface, compatible acrylic paint and enough paint to cover the canvas properly. Most of the other tools can be reused, recycled or improvised.
What you need for your first abstract painting
- A small, pre-primed stretched canvas or canvas board
- Three or four student-grade acrylic colours
- White acrylic paint for lightening and creating contrast
- Acrylic pouring medium, or water used sparingly
- Reusable cups or clean plastic containers
- Stirring sticks, an old palette knife or a piece of firm card
- Disposable gloves and an apron
- A plastic sheet, refuse bag or old tablecloth to protect your work surface
- Four cups, tins or blocks to raise the canvas while it dries
You can add specialist tools later. For a first attempt, you do not need silicone oil, a heat gun, dozens of colours or an expensive brush set.
Choose an affordable painting surface
A small gesso-primed stretched canvas is a convenient beginner option because it is ready to paint and can be hung without a frame. Canvas boards are often less expensive and are excellent for practising colour combinations and techniques, although you may want to frame a finished piece.

Start with a manageable size. A large canvas needs more paint than you may expect, and it is harder to tilt and control. Several small studies will teach you more for the same amount of paint.
If you already own an unprimed surface, use proper acrylic gesso according to the manufacturer’s instructions. Homemade primer recipes can be fun for temporary experiments, but they may not give a durable, predictable surface for a painting you want to keep.
Buy fewer acrylic colours
It is easy to overspend when every tube of colour looks exciting. Begin with three colours that work well together, plus white. A limited palette usually produces a more harmonious result and makes muddy colour mixtures less likely.
Beginner-friendly combinations include:
- Blue, turquoise, white and a small amount of gold
- Magenta, violet, white and deep blue
- Black, white and one bright accent colour
- Yellow, warm red, white and a touch of dark blue
Student acrylics are a better starting point than leftover wall paint if you want a result that behaves like an artwork. Household paint can be useful for low-cost experiments, but it is formulated for walls rather than flexible artist surfaces and may age, crack or react differently. Never mix acrylic paint with enamel or oil-based paint.
How to mix fluid acrylic paint
For fluid painting, each colour needs to flow easily while still retaining enough acrylic binder to form a stable paint film. There is no single perfect recipe because different paint brands vary in thickness and pigment strength.
A good beginner method is to place a small amount of acrylic paint in a cup, add pouring medium gradually and stir slowly. If the mixture is still too thick, add water a few drops at a time. Aim for a smooth consistency similar to warm honey or pouring cream: fluid enough to move across the canvas, but not watery.
Too much water can weaken the paint binder and cause poor adhesion or patchy colour. Check the manufacturer’s guidance where possible, especially if you want to keep or sell the finished painting. PVA or school glue is sometimes used for inexpensive practice pours, but an acrylic pouring medium gives more predictable and durable results.
Mix only a little more than you think you will need. You can always prepare another small batch, while a large leftover mixture is wasted money.
Reuse containers and simple tools
Clean yoghurt tubs, takeaway containers, water bottles and lidded jars can all become useful studio tools. Keep them for art only once they have held paint, and never return them to food use.
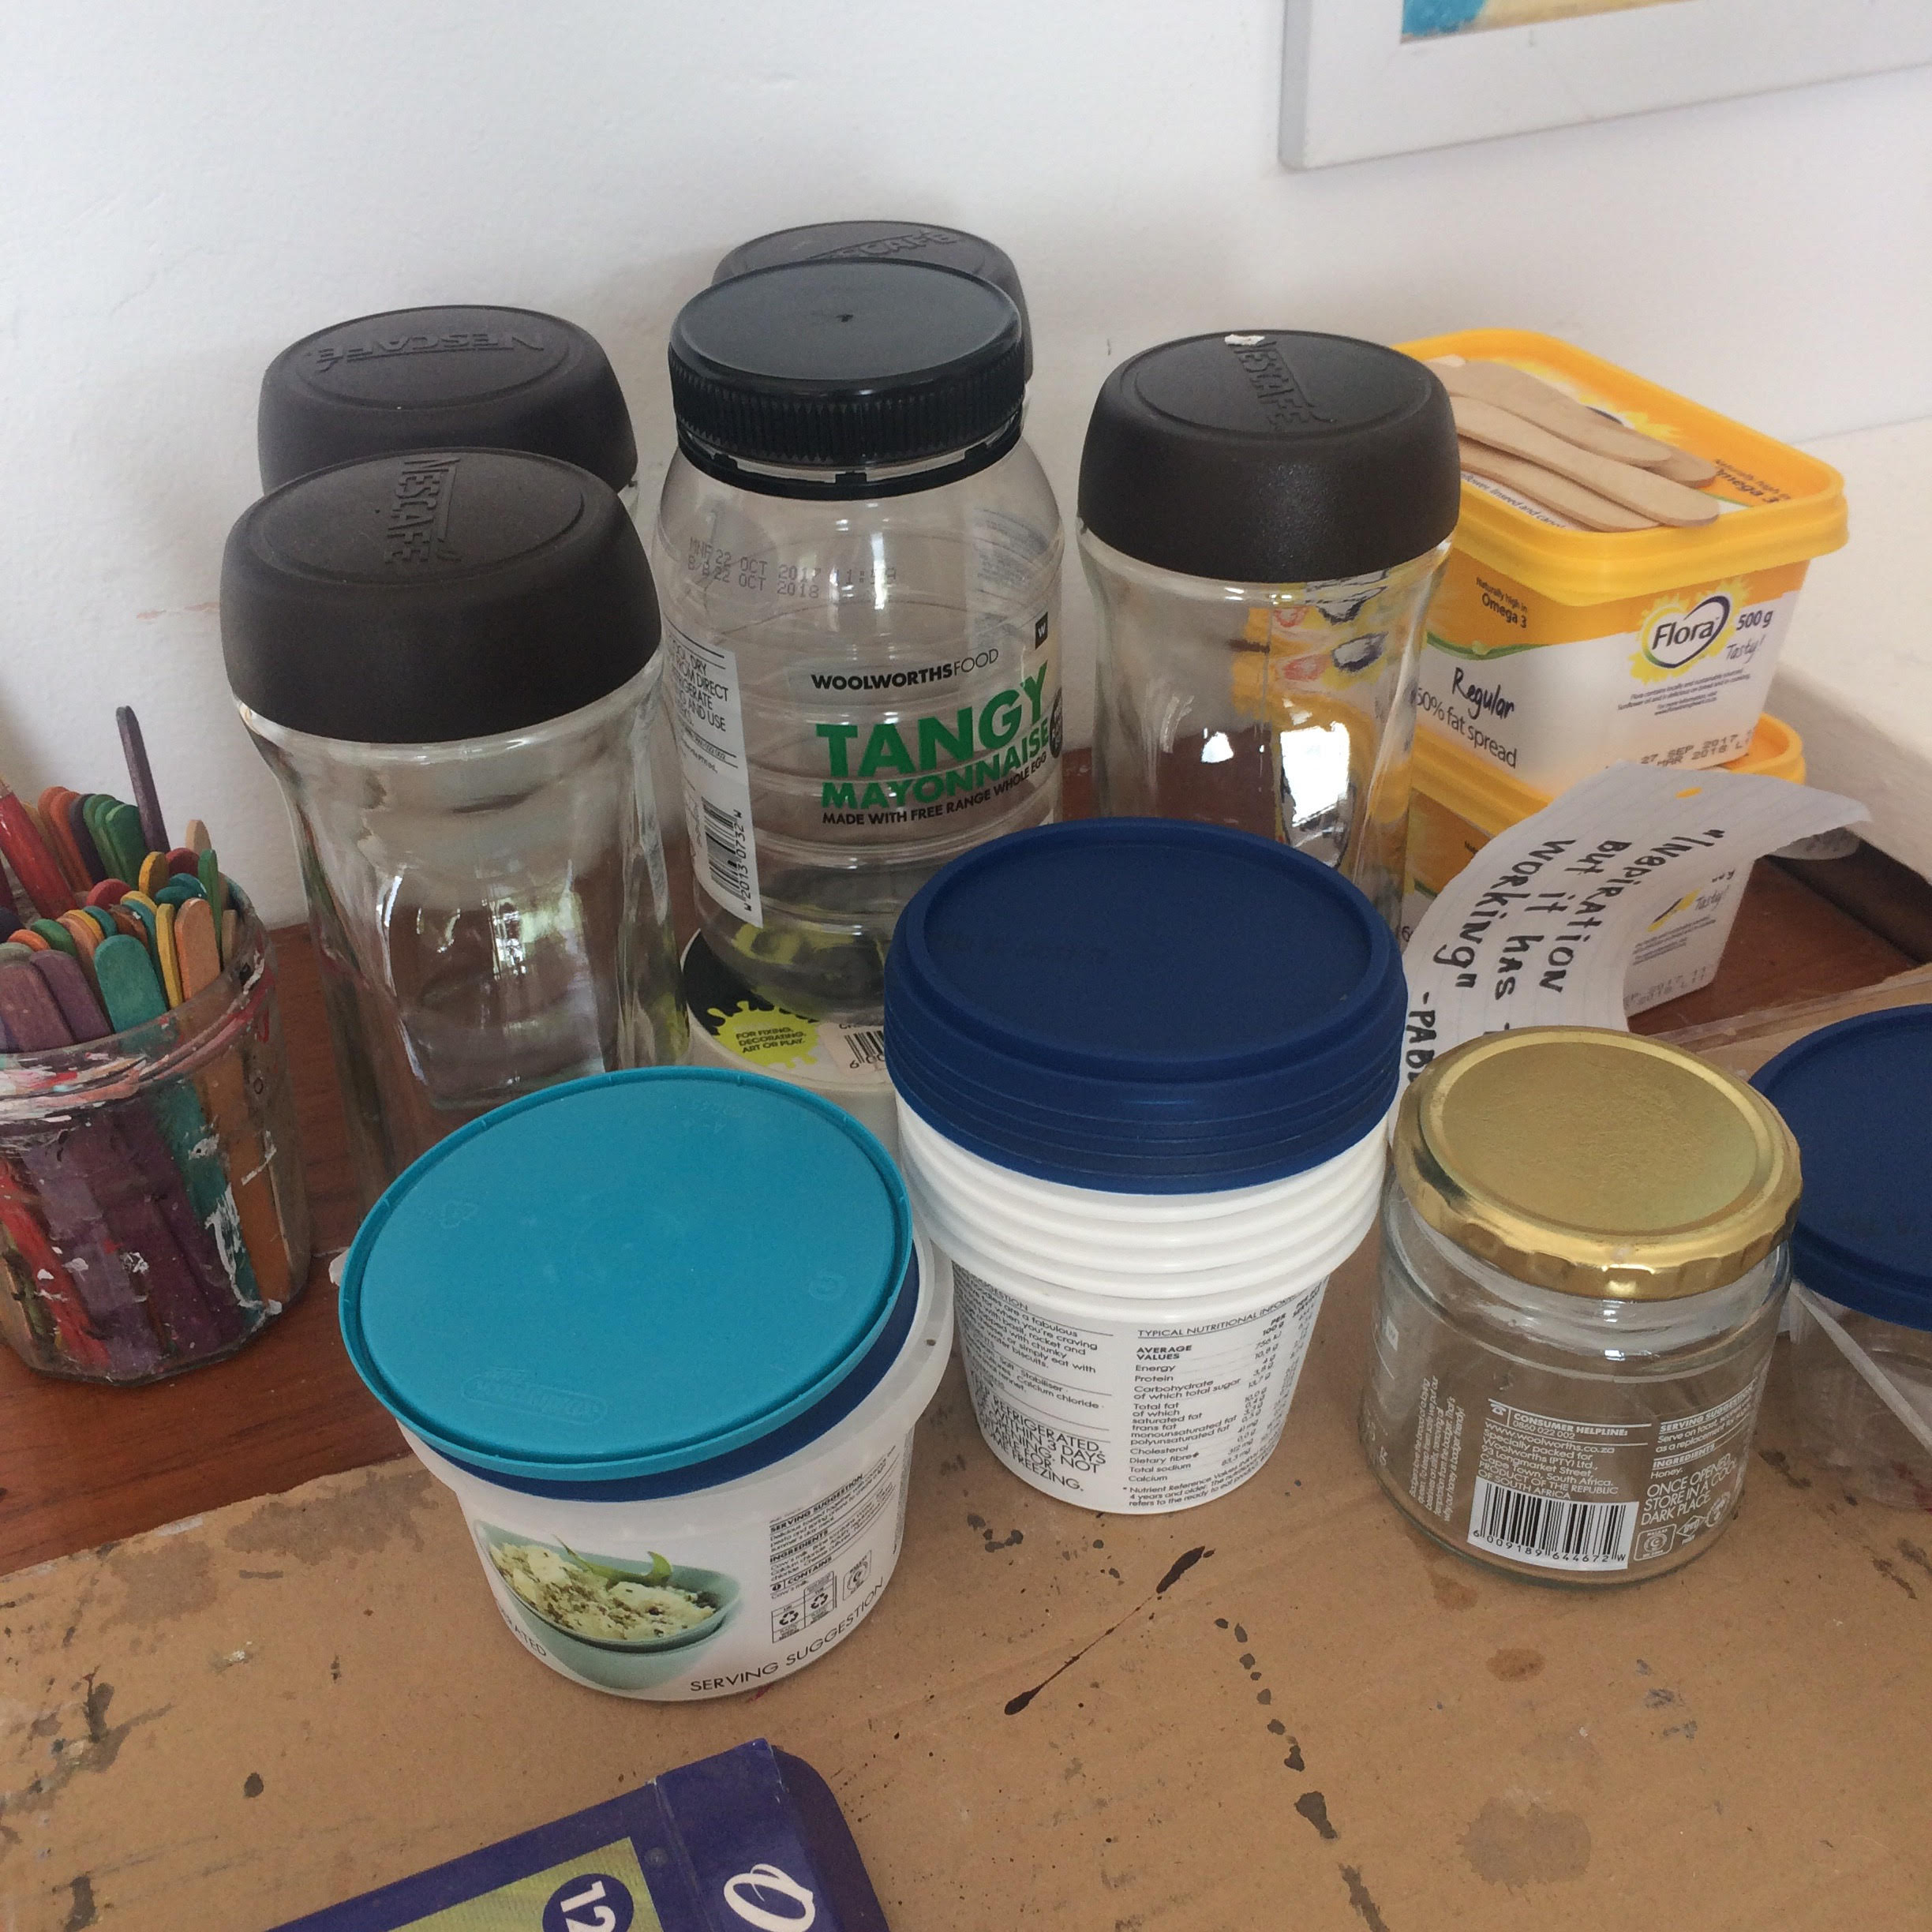
Squeeze bottles offer more control when you want to draw lines or place colour deliberately. Open cups are ideal for simple pours. An old loyalty card can spread paint, a wooden skewer can create fine lines, and a piece of cardboard can act as a basic swipe tool.
Watch Zhanna’s budget fluid-painting tips
In this video, I compare inexpensive materials and show how different mixtures behave. Use it as a starting point, then make notes about the paint brand, ratios and colours that work best for you.
How to make your first fluid abstract painting
- Protect your space. Cover the table and floor around it. Fluid paint travels further than you expect.
- Raise and level the canvas. Place it on four cups or blocks so paint can drip over the edges without sticking the canvas to the table.
- Plan a simple palette. Choose three or four colours and mix each one in a separate container.
- Test the consistency. Lift the stirring stick and watch the paint fall. Each colour should flow at roughly the same speed.
- Add paint gradually. Pour lines, puddles or overlapping areas of colour. Keep some mixture aside for bare patches and edges.
- Tilt slowly. Move the canvas in different directions and allow the paint to travel. Pause often so you do not lose every interesting shape.
- Finish the edges. Use a small tool or gloved finger to cover any missed areas.
- Leave it level to dry. Keep the painting away from dust, pets and curious fingers. Do not move it once the drying process has started.

The painting will change as it settles. Colours may spread, cells may open and some details may soften. That unpredictability is part of the process, but careful preparation gives you a better chance of keeping the effects you love.
Common beginner problems and how to fix them
The paint will not move
Your mixture may be too thick, or one colour may be thicker than the others. Add the correct medium gradually, stir well and test again. Avoid suddenly adding a large quantity of water.
The colours turned muddy
Too many colours were probably mixed together, or the canvas was tilted for too long. Use fewer colours, include some white between colours that clash, and stop moving the canvas while distinct areas are still visible.
The painting cracked while drying
Cracking can happen when the paint layer is very thick, the canvas is not level, the mixture contains too much water or glue, or the surface dries unevenly. Small imperfections can have character, but widespread cracking may affect the painting’s durability. Use thinner, even layers and let the work dry naturally in a stable room.
The colours look dull when dry
Acrylic paint naturally dries slightly darker. Once the painting is completely dry and cured, a compatible artist’s varnish can deepen the colour and protect the surface. Follow the product instructions and test it first rather than applying household varnish.
How to save money while you learn
- Practise on small canvas boards before buying large stretched canvases.
- Choose a limited palette instead of buying every colour individually.
- Mix small batches and keep notes so successful recipes can be repeated.
- Reuse clean containers, but keep all art tools separate from food utensils.
- Use offcuts of strong card and old plastic cards as mark-making tools.
- Paint in a short series so leftover colours can be used across several experiments.
- Wait before buying speciality additives; learn what basic paint and medium can do first.
Safety and clean-up
Even water-based acrylics should be used with care. Work in a ventilated room, protect your skin and follow the labels on paints, mediums and varnishes. Keep materials away from children and pets unless the products are specifically suitable and an adult is supervising.
Do not pour leftover acrylic paint or rinse water down the drain. Allow small paint remnants to dry before disposing of them according to your local guidance. For rinse water, let the solids settle, remove the clear water carefully and allow the remaining residue to dry for disposal.
Enjoy the experiment
Abstract painting becomes much less intimidating when you stop expecting the first canvas to be perfect. Treat it as a record of what you discovered: which colours blended beautifully, where the paint moved too quickly and which marks you would like to try again.
If you enjoy seeing how these experiments develop into finished works, you can visit my YouTube channel, follow @zhanna.abstract on Instagram, or learn more about my artistic process. You can also browse my available original abstract paintings to see where years of experimentation can lead.
Frequently asked questions
What is the cheapest surface for practising abstract painting?
Canvas boards, acrylic paper and small pre-primed canvases are usually economical options. Choose a surface designed for acrylic paint so you can concentrate on learning the technique rather than correcting problems caused by an unsuitable surface.
Can I use household paint for abstract art?
You can use water-based household paint for informal experiments, but it is not designed to behave or age like artist acrylic. For a painting you want to keep, display or sell, student-grade acrylic paint is the safer and more predictable choice.
Do I need pouring medium for fluid art?
Pouring medium is not essential for every experiment, but it helps acrylic paint flow while retaining its binder. Water alone can over-dilute some paints, so add it sparingly and follow the paint manufacturer’s guidance.
How many colours should a beginner use?
Three colours plus white is a very manageable starting palette. It creates enough variety for an interesting painting while reducing the chance of muddy mixtures.
How long does a fluid acrylic painting take to dry?
The surface may feel dry after a day or two, but thick pours can remain soft underneath for much longer. Leave the painting flat, undisturbed and well ventilated, and follow the paint and medium manufacturers’ curing guidance before varnishing or hanging it.
Zhanna Lutova is a painter, designer and art dealer based in Johannesburg, South Africa. From her West Rand studio, she creates richly textured abstract works using acrylics and mixed media, combining pouring, splattering, spinning and other experimental techniques. Drawing on decades of art and fashion design experience, Zhanna believes abstract art invites us to let go of perfectionism and discover our own meaning in every painting.